Warning: This is a rather long post. Reader discretion is advised.
I couldn’t put it off any longer. I needed to start breaking the car down. This meant doing the one thing I’d been putting off the most: pulling the engine. This would become an all-day event.
An important note for all of this: I’ve been working on the car completely on my own. While I have friends who would be happy to come help in exchange for some beer and pizza, this project is something of an adventure for me. Some people climb mounts, I’m restoring a car.
getting started
Throughout the process of preparing and planning for this moment, I’d made a handful of observations about the car. There were little things, like the passenger side trim being cracked or the passenger rear wheel “needing alignment”. There was the missing emblem on the front fascia and the missing screws and bolts from the interior trim. The power mirrors didn’t work (which I found was a common problem with 30+ year old Fieros) and the power windows were, well, slow (another common problem). And there were some less-than-desireable 16 inch wheels on the car.
Then there were the larger observations: the air conditioning compressor was missing, even though the had been equipped with a/c from the factory. The 4 speed Muncie transmission had been replaced at some point with an Isuzu-made 5 speed (which would not hold up to the abuse I’m planning on putting the car through). The upper intake plenum was from a later year – though I passed this off as an aesthetic update, which is common. The front brakes were updated to vented rotors from a ’90/’91 Chevy Beretta (which saved me some work). The wheels were from a ’91 Beretta GTZ. And, the catalytic converter had been removed at some point.
These observations put me in a good place to know better what was going on with the car, what would need to be bought and replaced. I still hadn’t really done anything with the car.
This led me to removing the engine.
It started with all of the preparations outlined in countless forum threads. I unbolted almost everything I could with the car on jack stands. Then I removed the wheels and lowered the car down onto a large dolly, which was barely large enough to hold the engine and cradle, then I could finish unbolting the engine cradle assembly and let it rest on the dolly.
Once everything was unbolted and unhooked, I was able to lift the car off of the engine. Yes. Instead of lifting the engine out of the car, I lifted the car off of the engine.
the fun begins
Over the next couple of weeks I worked on removing the suspension, the strut towers, and the axles until there was nothing left to do but separate the transmission from the engine and get the engine on a stand.
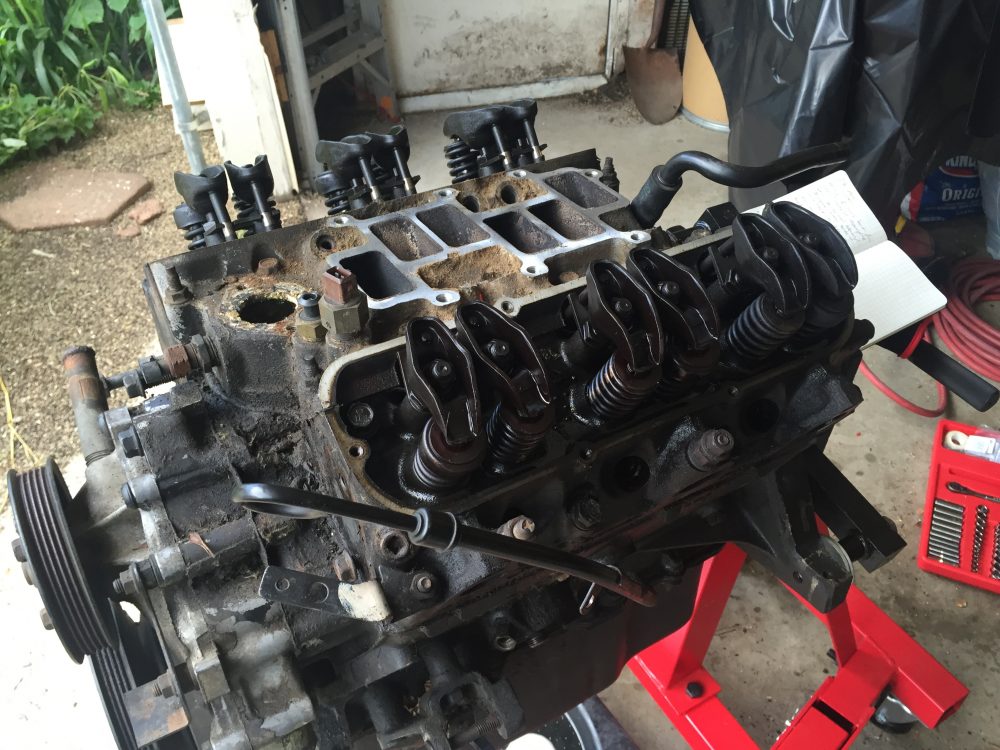
With the engine now on a stand, I could get to the bottom of why the car was stalling on my way home with it and why it was producing such large amounts of dark smoke.
I took my time breaking down the engine, day by day and piece by piece. Top down, front to back. The thing that took the most time, though, was labelling the wiring harness. At least with this done, I wouldn’t have to guess what wires when where and hope I was correct.
With this done I could concentrate on the engine itself. This provided some insights into just what was happening. Before I dug too far into the engine, however, there was some other sleuthing that I was able to do.
the internet is a wonderful place
While I was going over the car to see what state it was in when I bought it, I ran across insurance and registration records from the owner before the one I’d bought it from. This was a great find since the person I bought it from couldn’t really give me any information on it, other than his brother was going to restore it.
Finding the registration and insurance documents, though, gave me another avenue to learn more about what had happened with the car before I bought it—using the internet.
I was able to find the previous owner on Facebook. It only took a small bit of sleuthing (and creeping) to determine that I’d found the right person. Once I was convinced that I’d identified the previous owner, I sent him a Facebook message.
He was rather helpful, in a sense, and was able to tell me that the brakes and suspension had been worked on within the last couple of years, which would explain the vented rotor conversion, the new caliper, and the polyurethane bushings on all four corners of the suspension. He was also able to tell me that he’d run the engine low on oil and damaged a connecting rod or piston, which he believed had been repaired or replaced by the person he’d sold it to.
These were all helpful to explain some of the clues I was about to find while going through the engine.
an ‘automotive archaeology’
The term “automotive archaeology” is something that I picked up while watching the youtube series, Mighty Car Mods. Their version of this is “excavating” a used car that they’ve bought and finding the strange things that previous owners had done with and to their cars.
I think that this is an awesome idea—digging through the car and trying to find out what’s been going on. While Marty and Moog generally limit their excavations to the car’s interior, I thought I might lend this idea to the larger restoration process. And the Fiero was ripe this.
Based one what I’d found during my external examination of the car, the interior had previously been removed, to some extent – probably during the replacement of the engine and transmission assembly, as this is part of the removal and installation process. During this process, a fair number of bolts and screws the held the interior trim panels together had gone missing, some of which I was able to recover from inside the center console. Along with the bolts, I also found myself a little over a dollar in change. The car made itself ever-so-slightly cheaper.
With the engine out of the car, though, a much more thorough analysis could be done.
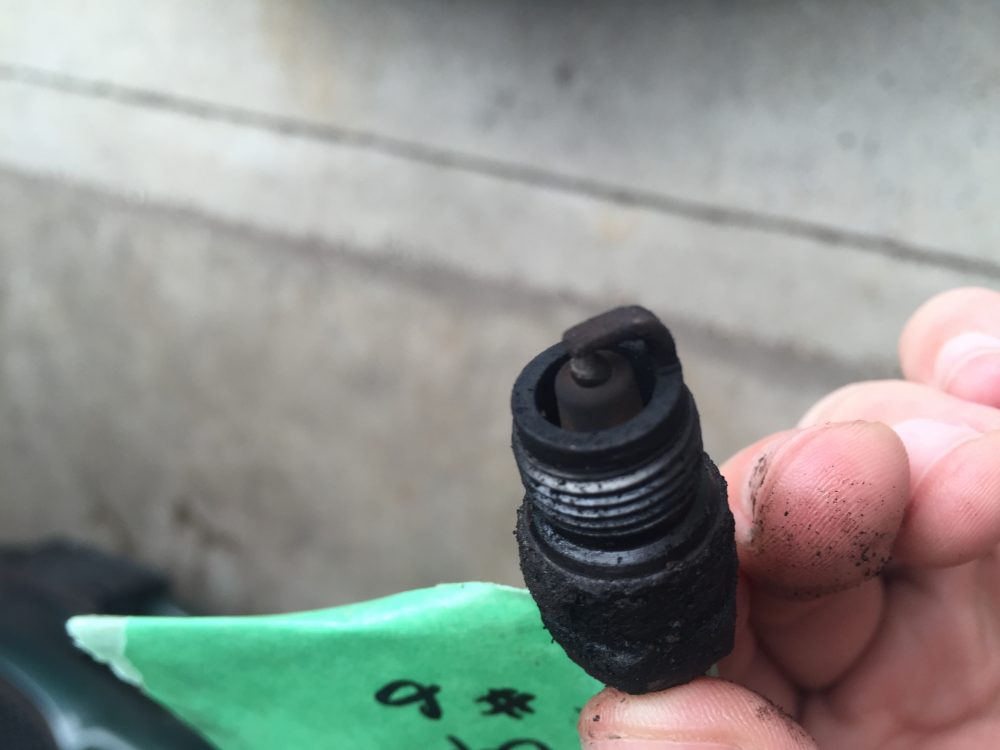
The engine itself seemed to be in OK condition. It was old, covered in grease, dust, dirt, leaves, and more. It hadn’t been particularly well maintained, but it wasn’t particularly worn out either. With the wiring harness off, I removed all of the spark plugs and looked them over. All six were rather black—they looked like they’d been coating in a nice thick layer of carbon. Evidence of Dry Fouling—the result of a rich air/fuel mixture. Not the worst thing, I was less worried about there being serious issues with the engine.
Next up, I checked on the compression in the combustion chamber. Now, I know that doing this with the engine out of the car means the cylinder won’t build up enough pressure, however it still allowed me to gauge just how bad the rings or valves are. Obviously, low pressure readings were found, but they were relatively consistent, aside from cylinder number six. I then tried the trick of adding a bit of oil to the cylinder to check for increased pressure. I was not let down, by any means. I could conclude that replacing the rings on the pistons would be in order, as well as cleaning the carbon off of the valves and checking their seal. Otherwise the cylinders were in pretty good shape.
From here, I started to break down the engine removing the intake, fuel injectors and fuel rail, and then moving on to the exhaust manifolds. Here, I found the first thing that started to put the puzzle pieces together—there were bolts missing from the exhaust manifold. This explained the rich air/fuel mixture, the stalling, and all of the smoke. There was still the issue of oil leaking out of the engine like it were a sieve. I’d at least solved one of the problems.
So far I’d found the wrong transmission, the wrong intake plenum, and a missing a/c compressor. I was starting to have some doubts that the engine had just been repaired. It was starting to look like the entire thing had been replaced.
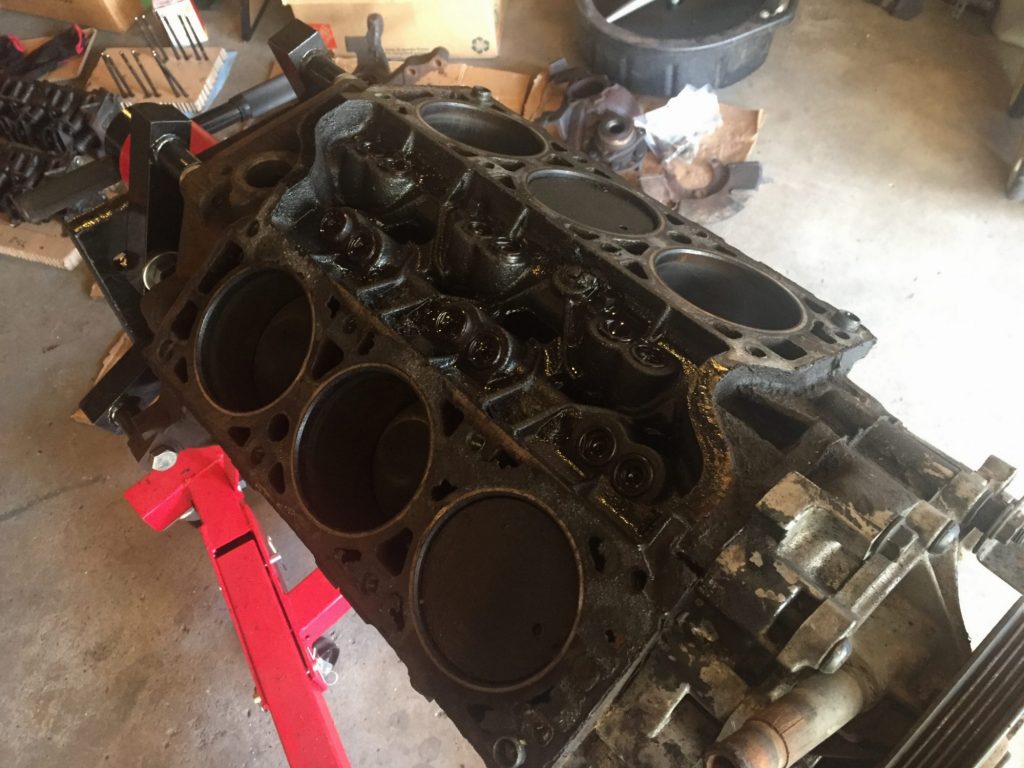
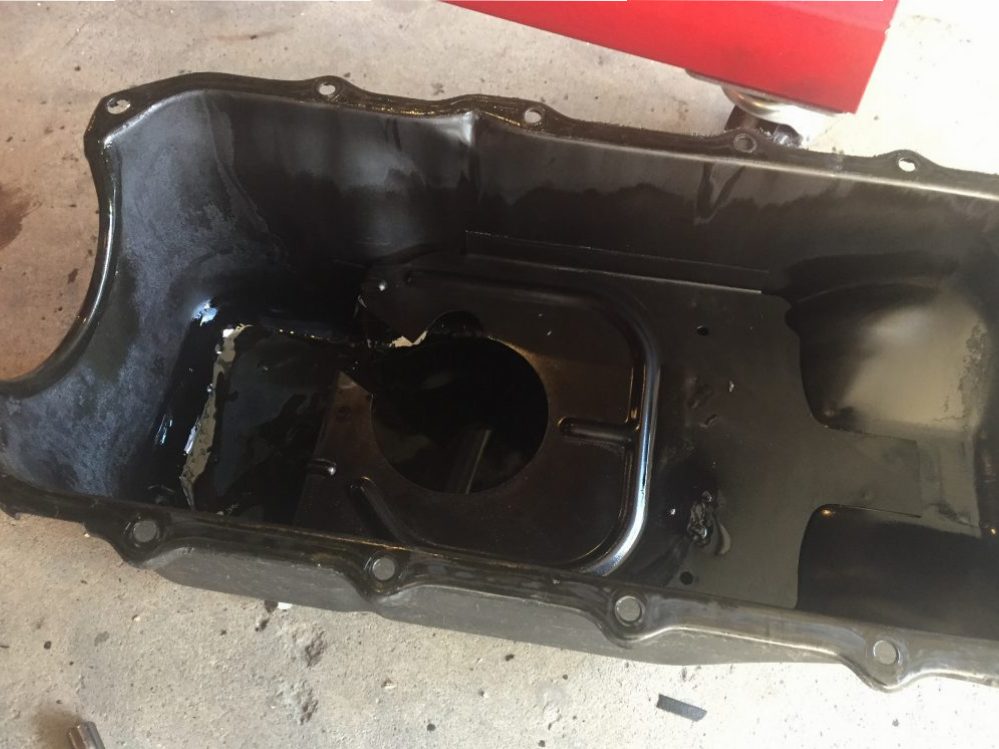
Once I had the cylinder heads off the engine, I was able to confirm that the cylinder bores were all close in diameter and none of the cylinder walls appeared to have suffered any damage. With the top end of the engine removed, I moved on to the oil pan. This is where the hidden issues usually show up.
This was a simple job. A few bolts loosened and the entire thing came off quite easily. I set it down on the ground, just below the engine (to catch any dripping oil). Inside, the pan was extremely clean, the only debris in the pan was from excess RTV and gasket that I’d dropped in it while working on the engine. I was impressed.
Then, I made my way to the front of the engine.
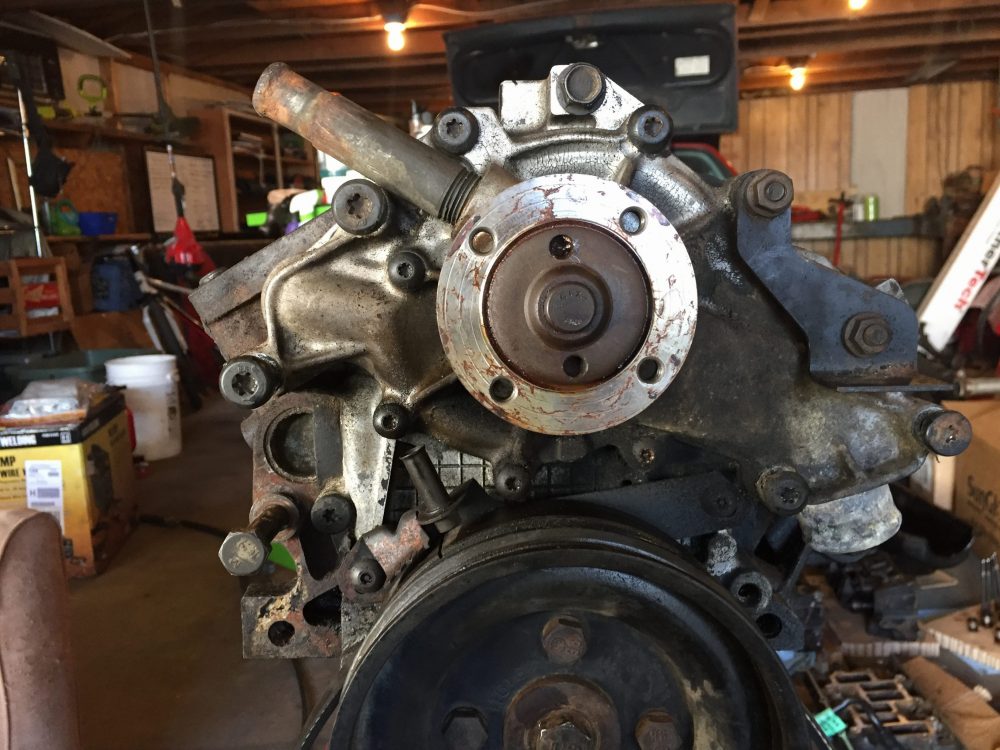
Here I needed to removed the harmonic balancer, the water pump, and the timing chain cover. The harmonic balancer was fine. Nothing out of the ordinary there. However, the water pump and timing chain cover were another story. These were all held on with Torx bolts. I figured this was normal, the car was built in the ‘80s after all, they did weird things then. The Fiero, for instance, was the first American-designed and built car that was made with mostly metric sized fasteners.
This is where my digging around the car came to a point: the Torx bolts, it turns out, had only been used on engine built starting in 1987. This engine was likely completely replaced—and with a common and relatively cheap alternate transmission, possibly after the damage done by the engine running out of oil.
It was at this point that I ran into a snag: the smaller Torx bolts were in the block so tightly that I actually stripped them and twisted the T-30 bit that I needed to remove them. Luckily, Sears offers a lifetime warranty on Craftsman tools… and at least I’ve got tools to remove stripped bolts. This is what I’m up to next, finishing breaking the engine down and getting it ready to rebuild.